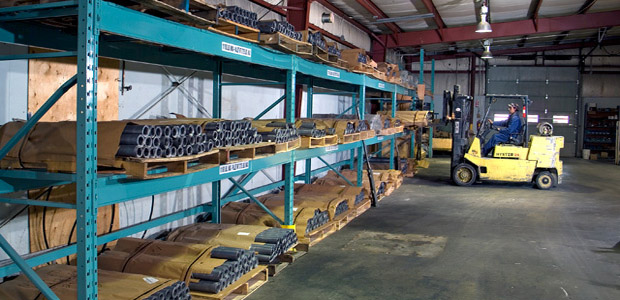
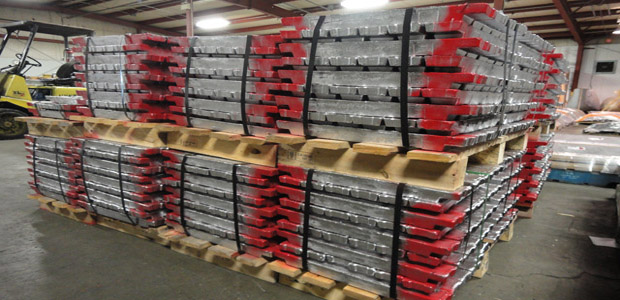
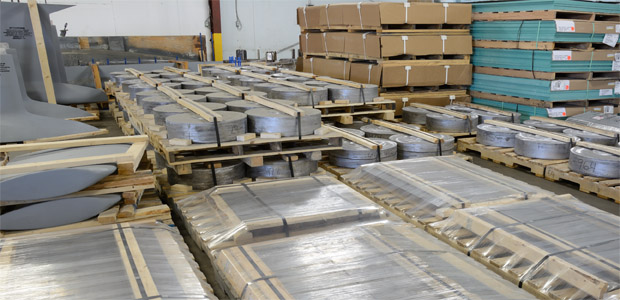
Mars Metal is continuing to expand our ability to offer world leading products through an increased envelope of testing, inspection and quality assurance.
We pride ourselves on delivering the most thorough testing and assurances available to our customers. All of our tests or checks are performed by accredited or certified professionals and companies. Therefore, full documentation is prepared for each test. The amount and scope of testing is specific to each project, however we have completed projects that were certified by Lloyds Register that utilize all of the processes offered.
Our quality assurance staff analyzes all of the documentation for variances and, when necessary may implement corrective procedures during the manufacturing stages to guarantee all requirements have been met.
Our quality management system is certified to both ISO 9001:2015 and CSA N299.3-16.


Ultrasonic Testing (UT)
Ultrasonic Testing (UT) can be done to certify that raw material, such as plate steel, is free of inclusions or laminations, as well as inspection of weld joints in fabrications. In UT, very short ultrasonic pulse-waves are launched into materials to detect internal flaws or to characterize materials.
Magnetic Particle Inspection (MPI)
Magnetic Particle Inspection (MPI) is a non-destructive testing (NDT) process for detecting surface and sub-surface discontinuities in ferrous materials. The presence of a surface or sub-surface discontinuity in the material allows the magnetic flux to lead. If an area of flux leakage is present, the particles will be attracted to this area. The particles will build up to the area of leakage and form what is known as an indication. The indication can then be evaluated to determine what it is, what may have caused it and what action should be take, if any.
Dye Penetrant Inspection (DPI)
Dye Penetrant Inspection (DPI) can be done to confirm that a cast part is free of inclusions that are not readily visible. DPI, also called Liquid Penetrant Inspection (LPI) or Penetrant Testing (PT), is a widely applied and low-cost inspection method used to locate surface-breaking defects in all non-porous materials (metals, plastics or ceramics). LPI is used to detect casting and forging defects, cracks and leaks in new products and fatigue crack on in-service components.
X-Ray Testing
The X-Ray testing method is employed to determine, for example, if a part meets the integrity standard required for a casting. Class 1-5, commercial to nuclear. Radiographic Testing (RT), or industrial radiography, is a non-destructive testing (NDT) method of inspecting materials for hidden flows using the ability of short wavelength electromagnetic radiation (high energy photons) to penetrate various materials.
Physical Testing
If required by the required production methods and techniques, ie. casting, the material can be checked using samples, coupons, of the work tested to failure point. These tests can confirm UTS, UYS and Charpy Impact strength. Such work would include weld joints, coupons from cast parts.
Chemical Testing
If required, generally but not exclusively used in cast parts, through the testing and analysis of certified coupons, the chemistry of the part can be confirmed. The micro structure of the material can also be confirmed through related tests, microstructure evaluation.
Material Certification
If requested, any used materials have a mill test report supporting the required properties from the offered drawings. Examples: rod material used in keel bolts.
Positional Testing
If required by the necessary tolerances, any part, such as a complex fabricated fin, can be inspected using the Faro Arm to define its positional accuracy. This is generally done before machining. Measuring directly against CAD data with a measurement arms lets the operator see real-time deviations from nominal. The maximum precision of the arm is 0.016 mm (0.0006″), often more accurate and consistent than conventional measurement methods (calipers, micrometers, etc.) or traditional CMMs use a measurement arm to digitize a part or object to create fully-surfaced CAD model. This model is then compared to the offered IGES or STEP file of the keel or fin to ensure positioning and shape.


